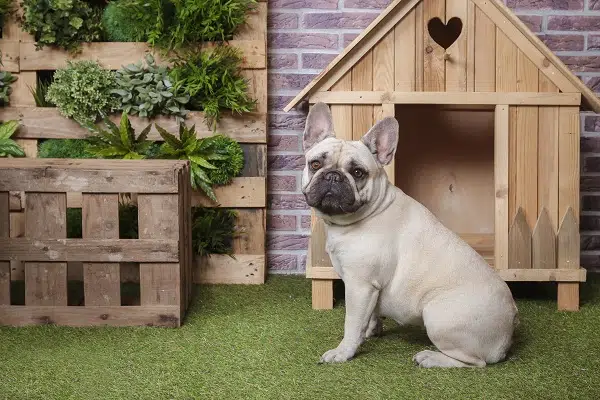
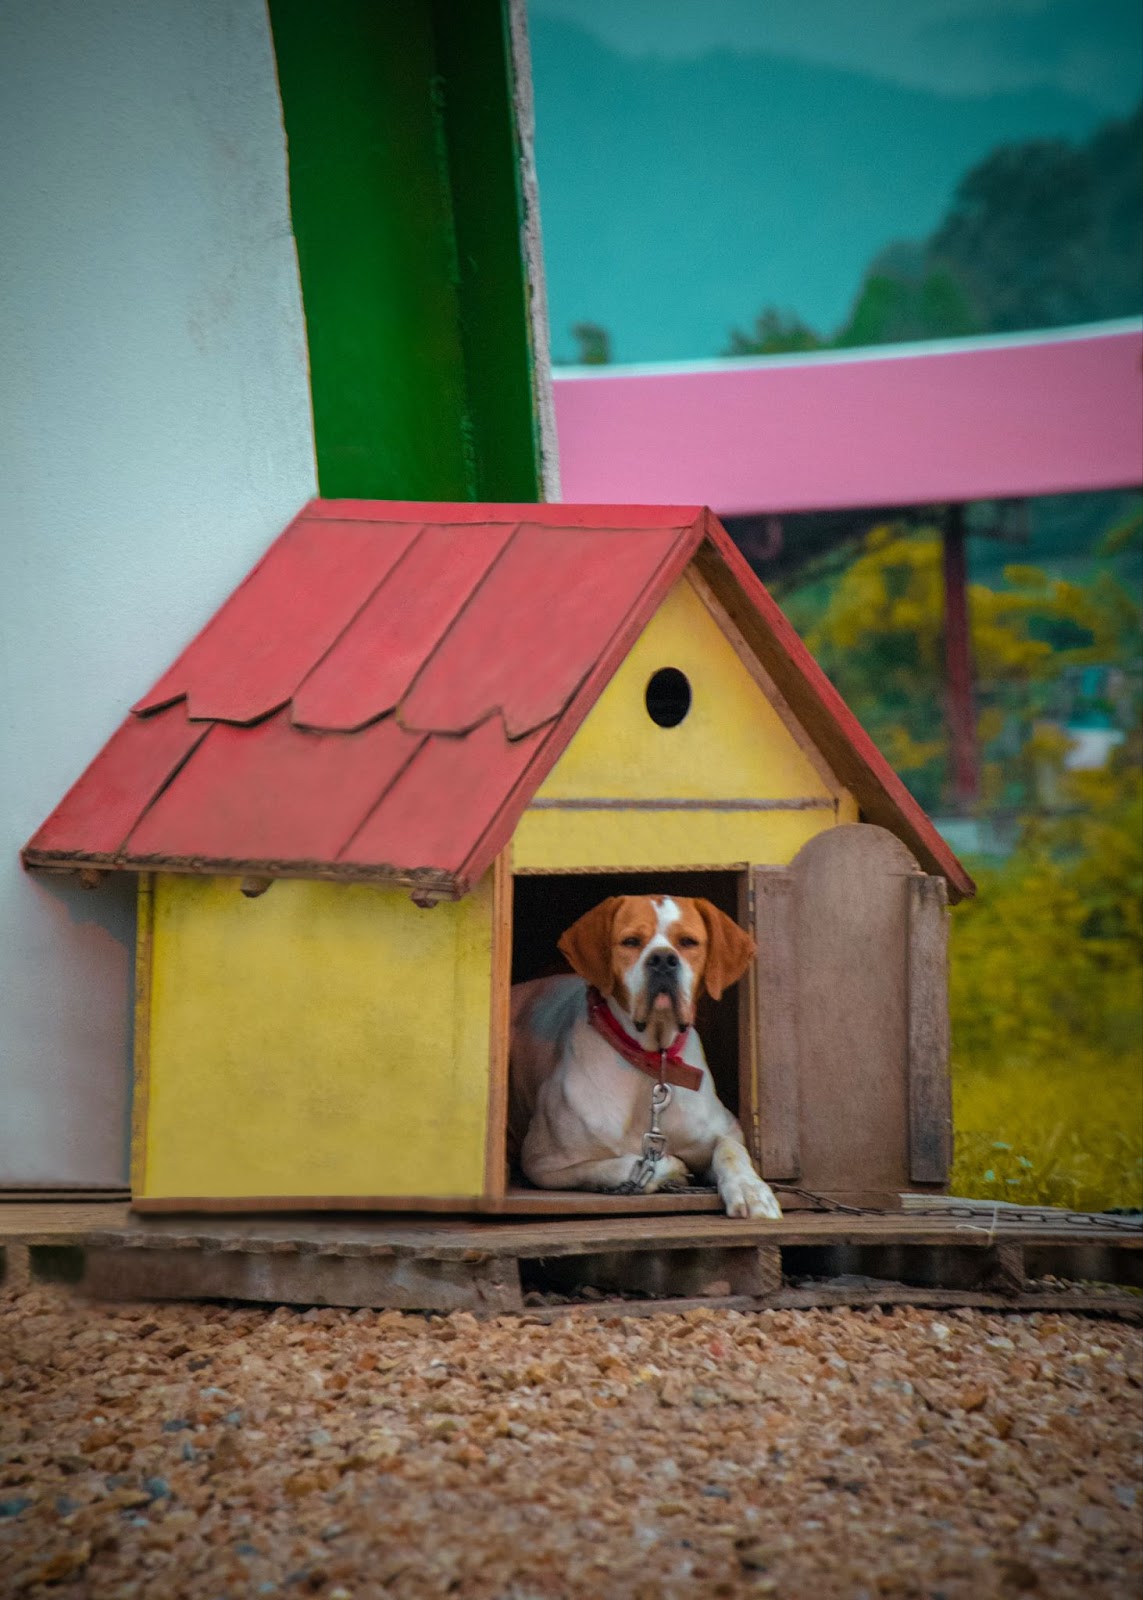
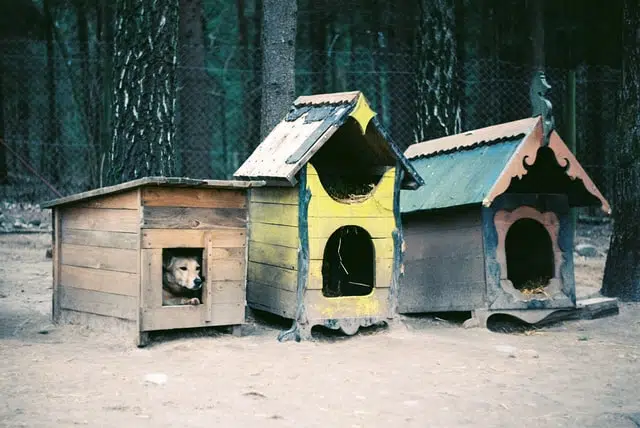
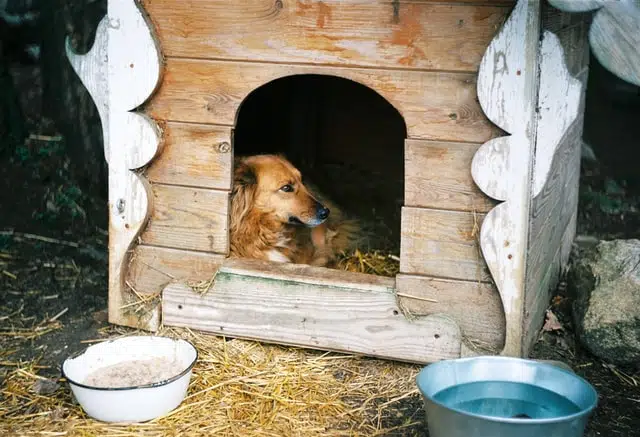
Every dog deserves a special place to be safe from the heat, cold, wind and rain, and for many of us Aussies nothing does this better than a dog kennel. Wondering how to build a dog kennel all by yourself? We don’t blame you, given the expense involved with buying a high quality one from a store!
Why not give our suggestion below a go – it’s an easy first foray into the world of kennel making. Whether you want to save money or are looking for a fun DIY experience, our simple how-to guide will get your imagination going.
We love that you’re interested in keeping your pet safe from the elements. You can find a whole load more with our tips on how to keep pets cool during summer. Or perhaps you’re still wondering ‘can dogs sleep outside?’ Read this.
What we love most about building your own dog kennel is that you can really personalise it to your heart’s content. You’re taking your pooch’s comfort into your own hands by making them an outdoor home that reflects their individuality.
And you can go all out, adding any and all of the bells and whistles to blow your furball’s hair back.
Side note: Bigger dogs will need bigger kennels, but we’ll leave it to you to plan how much space your pooch will need for a comfortable fit.
How to build a dog kennel: What you’ll need
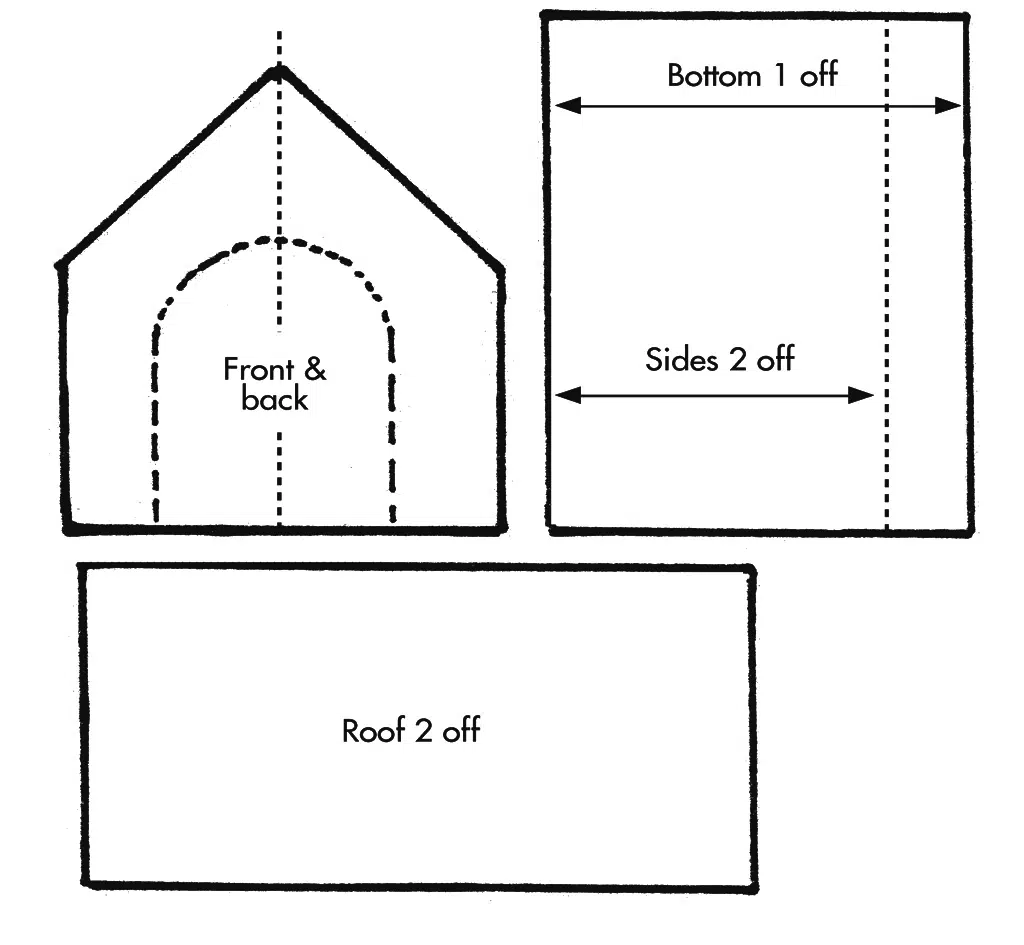
For this how-to guide we’re going to build the kennel from wooden plywood. The standard size for a sheet of plywood is 122cm x 244cm, so all measurements are considered using these dimensions. You’ll need:
- 2 sheets for the roof
- 3 sheets for the front, back and sides and floor
- Smaller wooden pieces to create an insulating subfloor
In order to prepare the wooden sheets and put them all together at the end you’re going to need the following tools:
- Jigsaw
- Circular saw or panel saw
- Hammer
- Square tool
- Tape measure
- Paint brush
You could also ask your neighbourhood building store to cut it for you once all the measurements are done.
The beginning of how to build a dog kennel
Firstly, we want a kennel your doggo will fit in. To ensure there’s enough room for your pooch, let’s start by taking measurements of your furry friend. We’ll need measurements for height, length and width.
Then think about how much room they’ll need to lie down comfortably, stretch out when needed and not have to crouch when moving themselves around the space. Add that on to the dimensions above. Don’t make the kennel too large – it needs to be cosy like a den.
Now that we know how big it needs to be, we can begin the fun.

How to build a dog kennel: Preparing the wood
Secondly, we want to start with the floor. As mentioned, you want to make sure there’s plenty of room to turn around – and if they’re still growing, enough room to grow into.
Floor panel and base
Thirdly, lay the panel of plywood on a pair of sawhorses with the good side facing upwards. Then, from your measurements, add a little extra space to accommodate your dog’s dimensions and mark it out on the floorboard using a square; this’ll ensure neat, straight edges. You now have the building block to start building your kennel. From here you’re ready to whip out the saw and cut to size.
To help with insulation and ensure the kennel doesn’t flood, we want to keep it at least 10cm off the ground. Measure wood pieces to fit the base you prepared and create pieces to fit the diagram below. Then, using wood glue or construction adhesive, join the base to the underside of the kennel floor. Add nails or screws for extra strength.

Front, back and sides
Now we can begin with the front, back and sides of how to build a dog kennel. From your dog’s height measurement (including the extra breathing room), use your square tool to mark the front panel to fit the floor and the height you’ve decided on.
Now we need to angle the front panel to fit the roof. Take the measurement for the width and halve it. Measure that much from the top and mark it on each side. You can then cut it to make the ‘A’ shape to fit the roof.
Important note: you want to make sure the wood grain runs vertically on the front and back panels but horizontally on the side ones.

Once you’ve cut the front panel to size you can use it to mark the back panel, as they’ll be identical.
For the sides, measure and mark the height to be the same as the front panel below where the roof starts. The length of the side panel will match the length of the floor panel. Once you’ve cut one side panel you can use it to measure the other side panel to size as these will also be identical.
Now we need a way for your pooch to get in. So let’s cut out the door opening into the front panel. Mark out your archway shaped door according to the measurements made earlier. Just make sure you make it big enough to allow a comfortable fit in and out for your furry friend. Drill a hole at one corner that’s been marked out for the door to be cut. Use the jigsaw to cut out the shape of the door.
The woof? The roof!
Now onto the roof part of how to build a dog kennel. To measure the roof sections, match the width with the side panels and allow an overhang at the front, back and both sides. Using a saw or plane, bevel the edges of the roof to form a mitre joint.
It’s a good idea to undercut the overhanging edges to help drain water off and avoid excessive moisture on the end grain. We recommend that you round off the overhanging edges of the roof for safety.
The fun part: assembling your new kennel
Add glue to the panels one by one, connecting them to the floor panel and adding screws (or nails) for strength and support. Wondering what type of glue would be most appropriate? Read this article on the best wood glue for the task.
Once all four panels are connected and screwed to each other all that’s left is the roof. Glue and fasten the roof panels to the kennel. Just be sure to add plenty of adhesive to the apex joint.
Finishing touches
The kennel’s interior should be water and windproof, but you might want to fasten a plastic lining to the inside. Be very careful to secure this really well – you don’t want your dog getting caught up in it or biting at it and accidentally ingesting so much that it causes a blockage or worse. Read our article about dog choking and ingestion risks.
Now to turn that house into a home for your pup. Give them something comfortable to sleep on like a dog bed or some old cushions. If it’s really hot, consider a pet cooling mat. Just like us, our favourite furballs looove maximum comfort and cuddly cushy-ness.
And even though your doggo has its own home now, you might still consider sleeping with your dog in your bed for mutual benefits.
Lastly, give the kennel a good coat or two of wood varnish to protect it from the rain and sun. Read more on waterproofing plywood here – best to do it right the first time rather than have to repeat steps after a good rainstorm!
We’re sure that your dog is going to be ecstatic when they try out their new home.
Insurance that will help keep other storms away
Sometimes vet bills for illnesses and injuries can make you want to hide out in your new dog kennel. Especially when they quickly add up into hundreds or thousands of dollars. That’s where having a dog insurance plan by PD Insurance can really help.
Check out the pet healthcare cover available and get peace of mind knowing you and your pup are protected, no matter the weather.